Introduction
Canonic is a low-code platform for building tools and automation. You can create tools end-to-end without writing any or very little code. This helps you save countless hours and allows you to focus on the more critical tasks at hand.
Internal tools are often tightly secured with role-based access control and different users might have access to additional features and pages. It becomes essential to have an easy way to maintain access to the tools that you build.
In this tutorial, we will go over adding access control to your internal tools on Canonic. We will use the user authentication addon to enable role-based access control in a few short steps.
Let's begin! 🚀
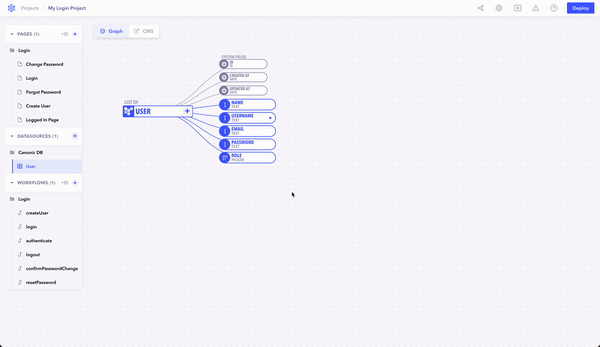
## Adding login workflows and pages We will use the login addon to add authentication. It comes bundled with all the pages, workflows, and tables required to add role-based access control. **Create a project** First, let's create a project. If you already have an existing project you would like to add auth to, you can safely skip this step. 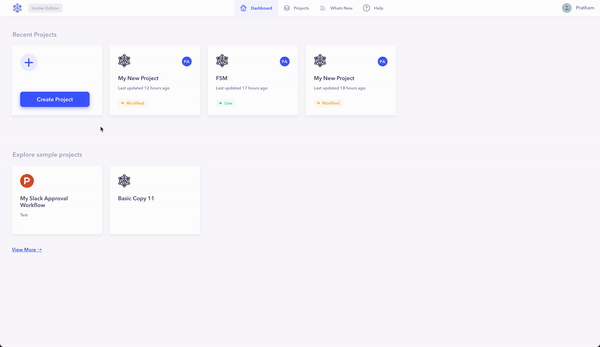 - Login to Canonic - Click on +Project to create a new project - Select Start from scratch, and don't add anything else.  `` **Add the Login addon** To add the login addon, press ⌥ + A to open the addon browser and select the login addon. Hit + Add to add the addon to your project. If the addon was added correctly, you will see a couple of new pages, endpoints, and tables. The login addon should now be configured. 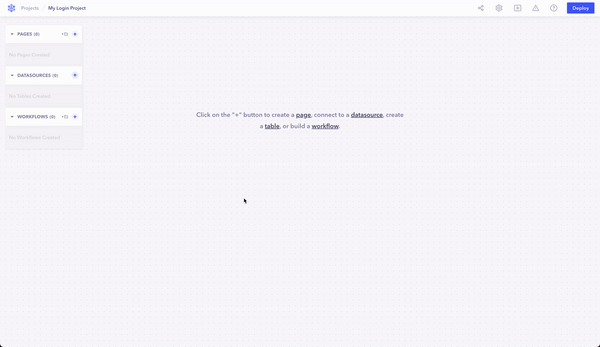 **Creating a user** It's time to create a test user! Before we can create a user, we need to deploy the project. Once that's done, you can create a new user using the Create user page. This page is only available to builders and can be used to create new users on demand. 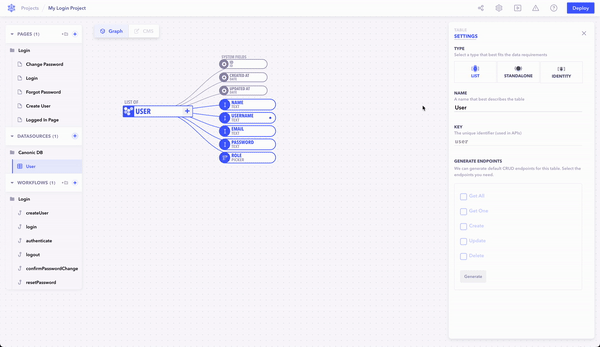 - Go to the create user page. - Add a dummy email and password and click on the create button. - A success alert should indicate that the user has been created successfully. Configuring Roles
Roles allow you to determine different access levels. Roles and their names differ based on tools so Canonic allows you to define your own roles.
For example, a user with a read-only role should not be allowed to edit any data on the tool. This role might be called viewer or read-only.
Add roles
To add a role, navigate to the newly created user table. This table should be under the data sources section in the left-hand navigation.
Click on the roles field in the user table. This is the field that stores what role each user is assigned. Let's add a few roles. We can also set the default role for each user.
**Assign roles to users** When a new user is created, the default role is assigned unless manually specified. You can always change the role for a user by navigating to the CMS. 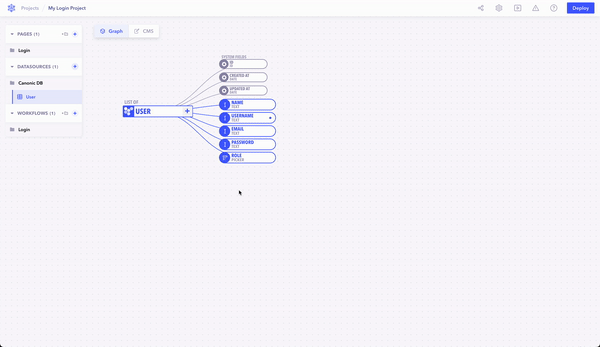 `` **Adding Access Control** At this stage, you should have a fully working login page. However, how do you implement access control? > Access control allows users to have access to only certain pages and functionalities based on their role. **Make login your default page** Let's make login the default page to open when loading the app. It should redirect to the actual homepage if the user is already logged in. Let's configure that: - Right-click on the login page and select Mark as homepage - Open the page settings for the login page. Under Access Control, add a new rule to redirect to the homepage once logged in. (This should already be configured if you've used the addon) 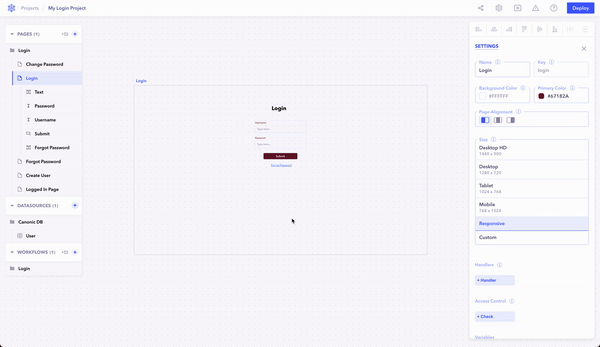 `` **Configure access to pages** By default all pages that you create are public. Let's use access control to redirect users to the login page if they don't have the right permissions. - Open the page settings for the page you want to add access control to. - Add a role check in the condition endpoints.authenticate.role.value === "ADMIN" - This will check to make sure the user's role is admin. - Trigger a redirect to the login page if the check fails. 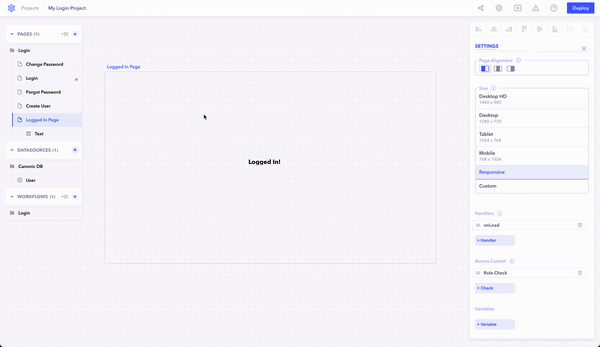 `` **Configure access to components** Sometimes you want to show certain components based on the user's access. For example, you might want to show the Refund button next to orders only if they have refund access. - Open configuration for the component you want to access control - Scroll down to the hidden field, and add your role check there. endpoints.authenticate.role.value === "ADMIN" That's it, you should have access control working for all the pages you configured. `` **Test the implementation** Let's quickly test the implementation. - Deploy the project. - Open the link to your deployed app. It should open the login page by default - Enter the credentials you created in the earlier step. It should log you in and take you to the homepage. - Try opening this URL in incognito, since you're not signed in there, you should be taken to the login page `` Conclusion That's all folks. As you can see, role-based access control is incredibly easy on Canonic despite being a complex feature. It's always important to maintain access control rules for all your internal tools and dashboards to ensure that only authorized users have access to your data. Canonic never stores your data and all authentication data is encrypted at rest for maximum security. As usual, let us know your feedback in the comments, and feel free to reach out to us at hello@canonic.dev Onwards & upwards 🚀 ``