Creating your own Webpack configurations sounds intimidating to even intermediate React developers. But the best way to tackle a problem is to face it head on! This blog will help you setup your own basic Webpack bundler with React and Babel for your next React project! It is also suitable for people who are trying to understand basics of Webpack, how Webpack is setup or exactly what happens under the hood. So let's dive into it!
TLDR
For coders who want to straightaway take a look at the code.
Github repo
Step 1 (Setting up folder and downloading dependencies)
- Start with creating a folder and name it whatever you like. I named mine
react-webpack. - Go inside the file and initialize the package manager.
-ystands for “yes” to all general development questions asked on the command line. “`bash
npm init -y
This is what it will look like. 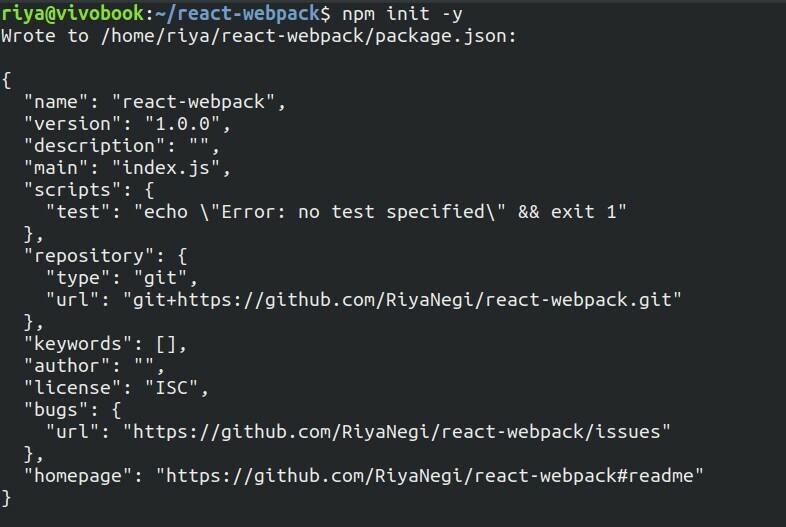 - Next we will install react dependencies. ```bash npm i react react-dom - Your dependencies in the package.json file will now have following: “`jsx
“dependencies”: {
“react”: “^17.0.1”,
“react-dom”: “^17.0.1”
}
- Next we will install dev dependencies and loaders ```bash npm i -D @babel/core @babel/preset-env @babel/preset-react babel-loader file-loader css-loader style-loader webpack webpack-cli html-webpack-plugin - This is how the devDependencies will look like in
package.json: “`jsx
“devDependencies”: {
“@babel/core”: “^7.13.10”,
“@babel/preset-env”: “^7.13.10”,
“@babel/preset-react”: “^7.12.13”,
“babel-loader”: “^8.2.2”,
“css-loader”: “^5.1.3”,
“file-loader”: “^6.2.0”,
“html-webpack-plugin”: “^5.3.1”,
“style-loader”: “^2.0.0”,
“webpack”: “^5.27.0”,
“webpack-cli”: “^4.5.0”,
“webpack-dev-server”: “^3.11.2”
}
##Step 2 (Setting up Webpack with Babel) - Next we will create a file called `.babelrc` which will transpile our react code from jsx to regular js. We need to include the following presets : ```jsx { "presets": [ "@babel/preset-env", "@babel/preset-react" ] } Our code and file structure by far looks like this.

- Next we will create the webpack file. We will name it
webpack.config.js. This webpack folder essentially runs in the node environment and not the browser. Therefore we can write vanilla js code here.
This is how the file will look like:
const path = require('path') const HtmlWebpackPlugin = require('html-webpack-plugin') module.exports = { // Where files should be sent once they are bundled output: { path: path.join(__dirname, '/dist'), filename: 'index.bundle.js' }, // webpack 5 comes with devServer which loads in development mode devServer: { port: 3000, watchContentBase: true }, // Rules of how webpack will take our files, complie & bundle them for the browser module: { rules: [ { test: /.(js|jsx)$/, exclude: /nodeModules/, use: { loader: 'babel-loader' } }, { test: /.css$/, use: ['style-loader', 'css-loader'] } ] }, plugins: [new HtmlWebpackPlugin({ template: './src/index.html' })], } Understanding webpack.config.js
-
In
outputwe mention where the files should be sent once they are bundled.-
pathmentions the name of the directory to be created where all the bundled files will be stored. We have named our folderdist, which is a common practice. - And
filenameis the name we set for the new bundled file that will be created after webpack runs it's magic(basically bundles all the js code into one file).
-
-
devServeris used to quickly develop an application, which is contrary to the production mode, which takes slighlty more time to build the application since it minifies the file, which doesn't happen in development mode.- With
portwe can set a port number of our choice. I have set it to 3000. -
watchContentBasetriggers a full page reload when any changes are made in any file.It is disabled by default.
- With
-
moduleis where you pass the rules for bundling files.-
testis where we mention the extension of file which needs to be targetted by the specific loader. All.jsor.jsxfiles need to be bundled by the babel loader. -
excludeis where we mention files that are needed to be ignored by the bundler. - Same goes for the
cssfiles.It is important to take in note that the array ofuse :['style-loader', 'css-loader']needs to be written in that exact order. - When webpack bundles the css files,this is the order it follows :
- It first runs the
css-loaderwhich turns css files to common js. - Then it runs
style-loaderwhich extracts css into files as string.
- It first runs the
-
-
Lastly we add a
plugincalled HtmlWebpackPlugin which ensures that the webpack knows which html file template to follow for running the app.
Step 3 (Setting up react folder)
Okay so the complicated part is done!Let us build our react app files now!😄
Create a src folder and inside it create 4 files.
src
index.html
index.js
App.js
App.css
index.html
<!DOCTYPE html> <html lang="en"> <head> <meta charset="UTF-8"> <meta name="viewport" content="width=device-width, initial-scale=1.0"> <title>React Webpack App</title> </head> <body> <div id="app"></div> <script src="index.bundle.js"></script> </body> </html> index.js
import React from "react" import ReactDom from "react-dom" import App from "./App" import "./App.css" ReactDom.render(<App />, document.getElementById('app')) App.js
I am creating a very basic app for example but you can add in more stuff you like.
import React from "react" function App() { return (<div> <h2>Welcome to React App</h2> <h3>Date : {new Date().toDateString()}</h3> </div>) } export default App App.css
h1{ color: teal } package.json
Okay so now we have to create a script for running our app in package.json file. Add the following scripts :
"scripts": { "serve": "webpack serve --mode development", "build": "webpack --mode production" } Step 4 (Running the app)
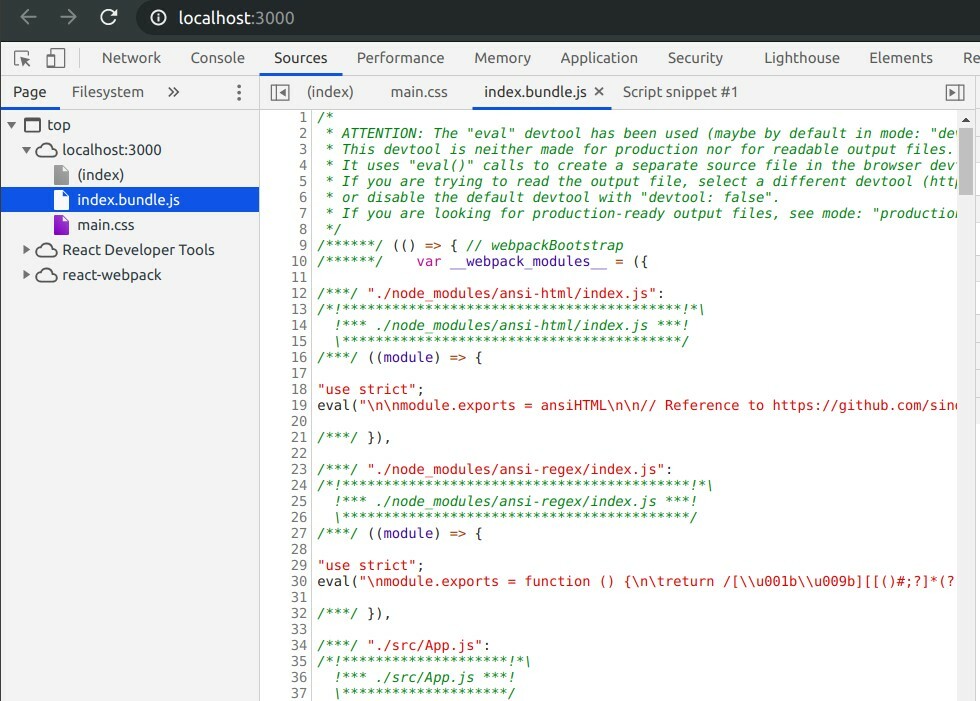
- Now simply run it through the CLI using the run command and you can see your code running on the mentioned port. In my case it is running on port 3000. This how the bundle looks in development mode. “`bash
npm run serve
 - You can then do build to see how the dist folder is build in production mode. ```bash npm run build -Once the dist folder is built, right click on the index.html file in the dist folder and click on 'Open in live server' to check out how it will look in production mode. This is how the bundle looks in production mode. It is minfied.

Bonus: Optimizations!
For optimizng the react web app, we will separate the JS/JSX files and CSS/SASS files.
The reason why this is good practice is because in Webpack, loaders like style-loader and css-loader pre-process the stylesheets and embed them into the output JavaScript bundle, instead of the HTML file.
And sometimes because of this there might be a flash of unstyled content (FOUC) where for a second you can see ugly plain HTML without any styling. To avoid this bad visual experience we need to split files and link CSS in the HTML file so that they load at the same time and there is no FOUC.
- Plugins like
MiniCssExtractPlugincan help in separating and minifying the CSS files and embedding them as a link into the HTML file, and thus avoiding FOUC. Install it with the following command: “`bash
npm install –save-dev mini-css-extract-plugin
- Here's how we can add it. First `require` it in your webpack.config.js and replace the MiniCssExtractPlugin loader with `style-loader` and also add it in the plugin. - It should look something like this (I have highlighted the 3 places where changes are required): 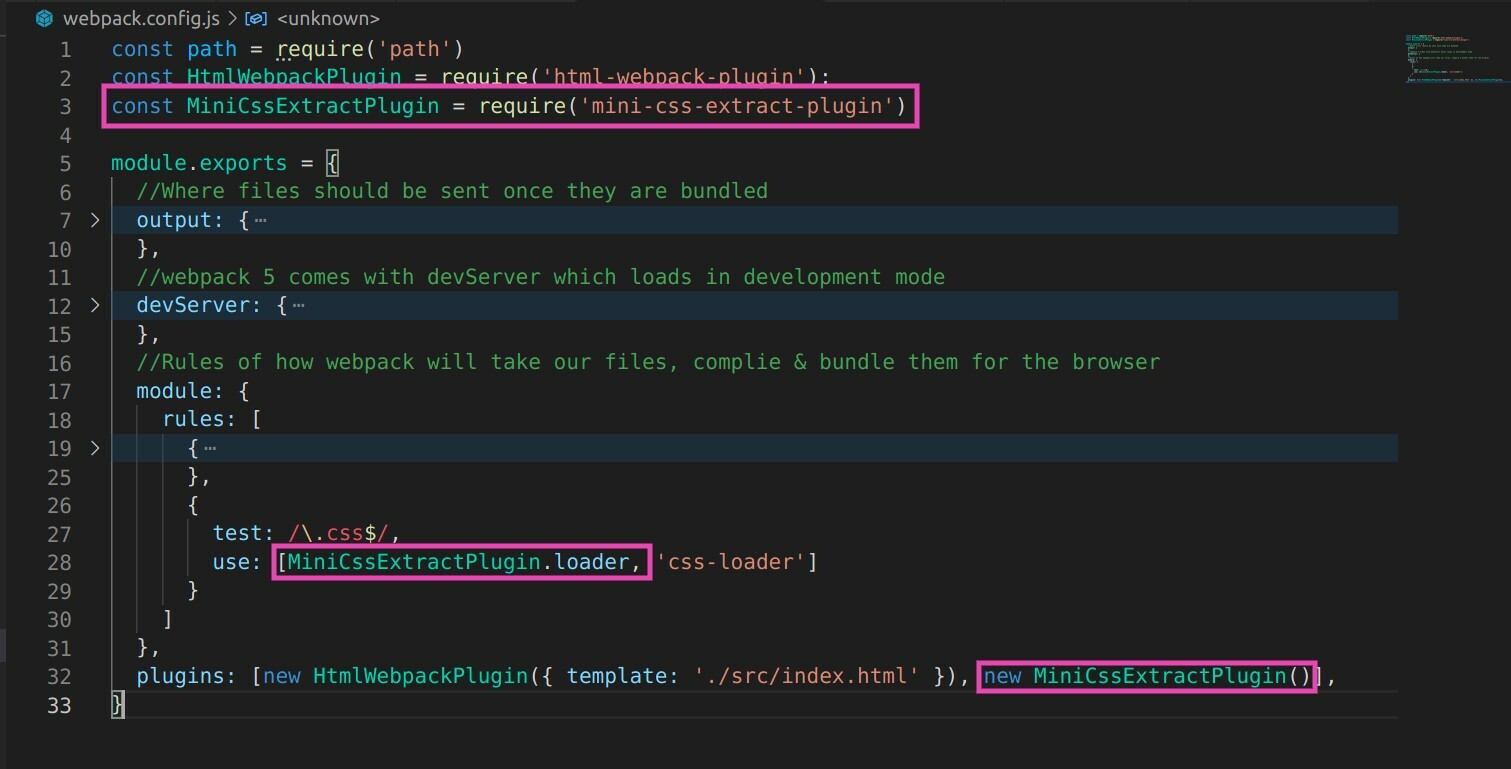 - Finally run build command again and in your `dist` folder you can see your new `main.css` file. ```bash npm run build - This is the final look. I added a generic form element to show how we can build various components with their own CSS files and build a React web app similar to CRA.

Credits
If you are a visual learner and want a video explanation, check out this amazing video by James Bubb. I followed his Youtube Video to learn and build this react starter template.